How to Make a Medical Binder for a Child: What to Include and How to Set It Up
A medical binder for a child is one place where you keep your child’s health paperwork, contacts and appointment notes so you can find them quickly. To make one, get a three-ring binder, divide it into a handful of labeled sections (basic info, care team, visits, records, insurance and school), and add a one-page summary at the front that a grandparent or sitter could read in two minutes.
This guide is about organizing information only. It is not medical advice, and a binder does not diagnose, treat or improve any condition. Anything that touches your child’s health should follow your child’s doctors and care team, and the binder just helps you keep their instructions and records in one tidy spot.
Why a binder helps when it’s your child
Children see many people: pediatricians, dentists, specialists, schools, camps, sitters and relatives. Each one may ask for the same details, and paperwork piles up fast. A binder means you are not searching through emails and drawers while a form waits to be filled out.
It also helps other adults step in. If someone else takes your child to an appointment or watches them for an evening, a clear binder lets them see the plan you already have.
What you need
- A sturdy 1.5 to 2 inch three-ring binder
- Tab dividers (six to eight is plenty)
- Page protectors for cards and small papers
- A three-hole punch
- A zipper pouch or pocket folder for insurance cards and loose items
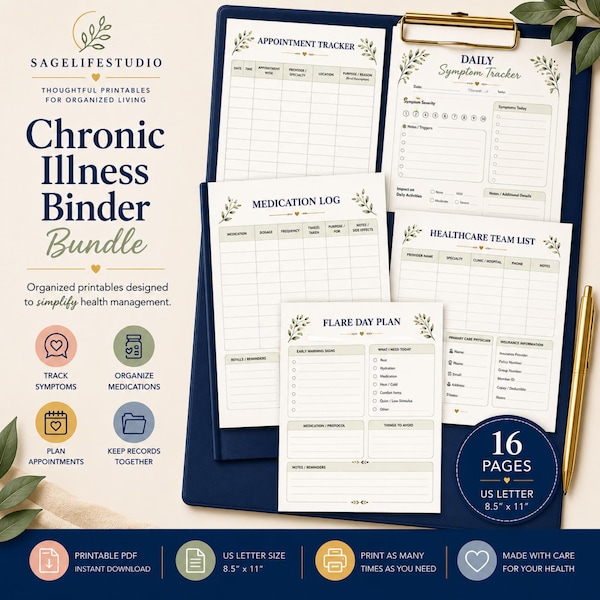
- Printed sheets for the sections below, either your own or from a printable set
Sections to include
1. One-page summary. Put this at the front. Include your child’s full name, birth date, home address, parent or guardian contacts, and a short list of what a helper needs to know. Copy details from official records or from what the care team has told you, and do not add guesses.
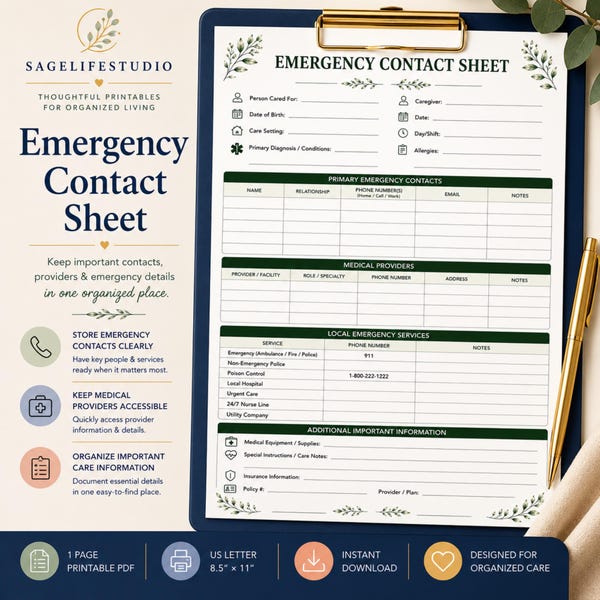
2. Care team contacts. List the pediatrician, dentist, specialists, pharmacy and any therapists, with phone numbers, office addresses and after-hours instructions the office has given you.
3. Visit log. Keep a running record of appointments: date, who you saw, what questions you brought, and any follow-up the provider asked for. Write down their instructions in their words. Our post on questions to bring to a doctor’s appointment can help you prepare.
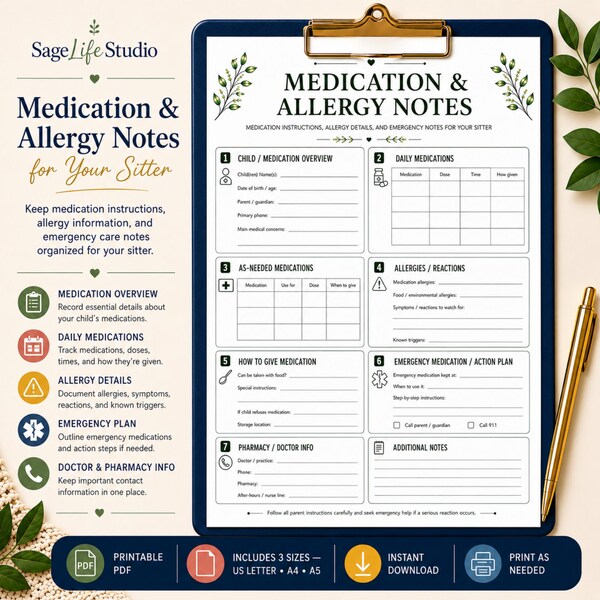
4. Medications and allergies. If your child takes anything regularly, record what the prescriber has told you, exactly as it appears on the label or visit paperwork. Never change a schedule based on your binder; follow the care team’s instructions and ask them if something is unclear. A simple medication log can keep track of what was given and when.
5. Records and results. Store immunization records, test results, referral letters and visit summaries. File them newest first, and consider keeping older items in a separate folder so the binder stays slim. For a system that works at home, see how to organize medical records at home.
6. Insurance and billing. Keep copies of insurance card information in a protected pocket, along with claim numbers, bills and notes on who you spoke with. Do not write full account numbers where visitors can see them.
7. School and activities. Add forms the school or camp asks for, plan documents, and a list of teachers and contacts. If your family has a more complex situation, the special needs parent binder post covers extra sections.
How to set it up in an afternoon
Start small. Gather what you already have, sort it into piles by section, and punch and file it. Do not aim for perfect. A binder with the basics filled in is far more useful than a beautiful empty one.
Then fill the gaps over a few weeks. Each time you have a visit, add the notes that day while you still remember the details. Many parents keep a pen clipped to the binder for this reason.
Keep it current
Children grow and their needs change, so build a quick habit of review. After every visit, file the new papers. Once a season, check that contacts and phone numbers are still right, and remove anything outdated. Each year, before school begins, update the one-page summary.
Privacy and sharing
A child’s binder holds personal details, so store it somewhere safe, such as a shelf or drawer you control. For a babysitter or short-term helper, share a shorter sheet with emergency contacts and only the information they truly need, and keep the full binder with you. If you take the binder to appointments, bring it home with you afterward.
Quick checklist
- Three-ring binder with labeled dividers
- One-page summary at the front
- Care team contact list
- Visit log with follow-ups
- Medication and allergy page copied from official instructions
- Records, insurance and school sections
- Review after each visit and once a season
Frequently asked questions
Ready-made printables to get you started
If you would rather start with finished pages than a blank sheet, you can browse printable binders, logs and contact sheets on Etsy.
Frequently asked questions
What should go in a child's medical binder?
A one-page summary, care team contacts, a visit log, medication and allergy notes copied from official instructions, records and results, insurance information, and school paperwork. Follow your child's care team for any health decisions.
Should I keep the binder on paper or digitally?
Many families use both. A paper binder is easy for sitters and appointments, while phone photos or scans give you a backup. Choose the setup you will actually keep up to date.
How often should I update my child's binder?
File new papers right after each visit, and review contacts and the summary page about once a season and before each school year.